If you’ve ever wanted to carry your entire operating system (OS) around on a USB drive, you’re not alone. Whether it’s for creating a portable version of your system, having a backup for emergencies, or testing a new OS without installing it on your computer, copying your OS to a USB is a powerful and flexible option. In this blog post, we’ll walk you through the process of copying your OS to a USB drive, turning it into a bootable device that you can use on almost any computer.
Why Copy an OS to a USB?
There are several reasons why you might want to copy your OS onto a USB:
- Portability: You can carry your personalized OS around with you and boot it up on other computers.
- Backups: Having a bootable OS on a USB can be a lifesaver if your main system crashes or becomes unbootable.
- Testing: If you’re curious about trying out a new OS (e.g., Linux) but don’t want to install it on your hard drive, a USB setup is perfect for experimenting without risk.
Now, let’s dive into the steps required to copy your operating system to a USB.
What You’ll Need:
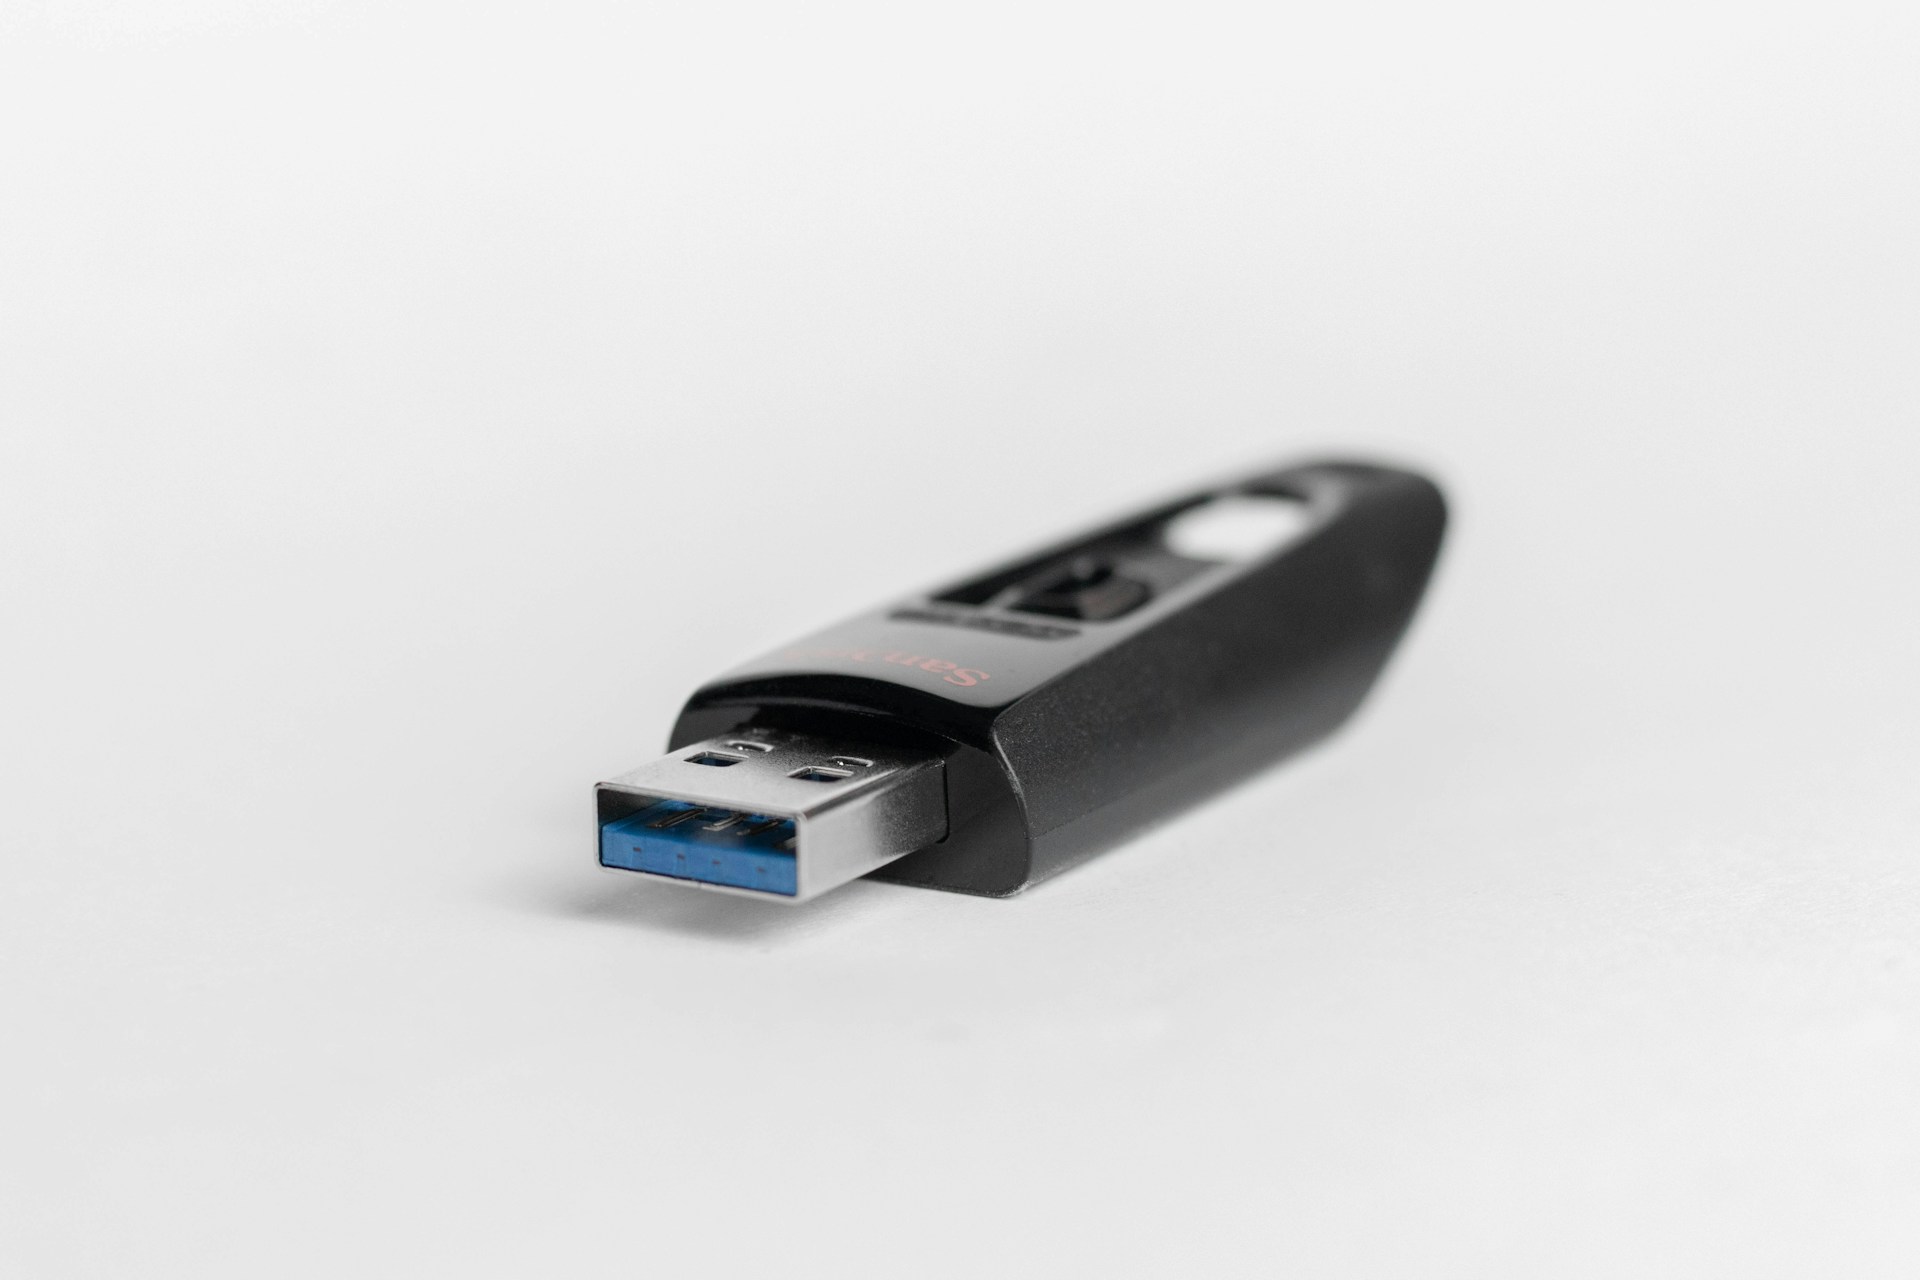
- A USB drive: At least 16GB or larger, depending on the size of your OS.
- A computer: The machine you’re copying the OS from or using for the process.
- ISO image of the OS: If you’re planning to clone an OS, you may need to create an ISO file.
- A tool for creating bootable USB drives: Tools like Rufus (for Windows), UNetbootin, or the macOS Disk Utility will help you do this.
Step-by-Step Guide
Step 1: Back Up Important Data
Before you start, back up any important files on your USB drive. The process of creating a bootable USB will erase everything on the drive, so make sure you’ve saved what you need.
Step 2: Download an ISO File (if needed)
If you’re copying a clean version of your operating system, you’ll need an ISO image file. An ISO file is essentially an archive of the OS that can be written to the USB drive. For instance:
- Windows: You can download the Windows installation ISO from Microsoft’s website.
- macOS: You’ll need to use Disk Utility or the Terminal to create a bootable copy of your OS.
- Linux: Most Linux distributions offer direct ISO downloads from their websites.
Step 3: Choose a Tool for Creating a Bootable USB
The software you use will depend on your OS. Below are a few of the most popular tools:
- Rufus (Windows): A simple and fast tool to create bootable USB drives. It supports creating bootable USBs from both ISOs and live environments.
- UNetbootin (Windows, Linux, macOS): Another cross-platform tool that makes it easy to create bootable USB drives.
- Disk Utility (macOS): If you’re on macOS, Disk Utility offers an inbuilt option to create a bootable USB.
- Etcher (Cross-platform): This tool works well across all operating systems and has a clean interface for beginners.
Step 4: Create the Bootable USB
-
Using Rufus (Windows):
- Plug in your USB drive.
- Open Rufus.
- Under “Device,” select your USB drive.
- Under “Boot Selection,” choose your OS’s ISO file.
- Hit “Start” and let Rufus do its magic. Once complete, your USB will be bootable.
-
Using Disk Utility (macOS):
- Open Disk Utility.
- Select your USB drive and click “Erase” to format it.
- Use the Terminal command
sudo dd if=/path/to/iso of=/dev/diskX bs=1mto write the ISO to your USB. Replace/dev/diskXwith the location of your USB drive.
-
Using UNetbootin (Linux, macOS, Windows):
- Select the distribution or ISO file you want to use.
- Choose your USB drive.
- Click “OK” and wait for the process to complete.
Step 5: Test the Bootable USB
Once the USB drive is ready, you should test it to make sure everything works as expected. To do this:
- Reboot your computer.
- Enter your computer’s boot menu (usually by pressing F2, F12, DEL, or ESC during startup).
- Select your USB drive as the boot device.
If all goes well, your computer should boot directly into the OS installed on the USB.
Step 6: Running the OS from USB
Once you’ve booted into the USB, you can either use it as a live environment (where nothing is saved between sessions) or, depending on your setup, you may be able to fully run the OS from the USB with the ability to save data, install apps, and more.
Conclusion
Copying your OS to a USB drive isn’t as hard as it seems. With the right tools and a little patience, you can create a portable version of your operating system that you can take anywhere. Whether for backup, testing, or simply the convenience of a portable OS, having a bootable USB drive can be a handy addition to your tech toolkit.
Happy booting!