In recent years, thermal cameras have become much more accessible, thanks to innovations that allow them to be integrated with smartphones. What was once expensive, specialized equipment for professionals is now available to anyone who needs to detect heat sources, troubleshoot electrical issues, or even check home insulation. If you’re an Android user interested in using a thermal camera, you might be wondering how to get started. This blog will walk you through the basics of choosing a thermal camera for Android, setting it up, and making the most of its features.
1. Choosing the Right Thermal Camera for Android
There are a variety of thermal cameras designed specifically to work with Android devices. Here are two of the most popular options:
-
FLIR ONE: This is one of the most widely known thermal camera brands, and the FLIR ONE series offers a compact device that plugs directly into your phone’s USB-C port. It comes with its own app, providing real-time thermal imagery and advanced features like image blending, which overlays thermal and visible light images for better clarity.
-
Seek Thermal Compact: Another great option, the Seek Thermal Compact, offers a higher thermal resolution at a competitive price. Like the FLIR ONE, it plugs into your phone and uses an app to display thermal images.
2. Setting Up Your Thermal Camera
Setting up a thermal camera with your Android phone is generally a simple process. Here’s what you need to do:
-
Plug the Camera In: Most thermal cameras connect via USB-C, so just plug the camera into your phone’s port. If your phone uses Micro-USB, you’ll need an adapter.
-
Install the App: Download the corresponding app (FLIR ONE, Seek Thermal, etc.) from the Google Play Store. These apps are essential for viewing and capturing thermal images. Some apps may offer extra features like adjusting temperature ranges or applying filters.
-
Calibrate the Camera: Most cameras will auto-calibrate, but you can fine-tune the settings within the app to get more accurate readings, depending on the environment you’re in.
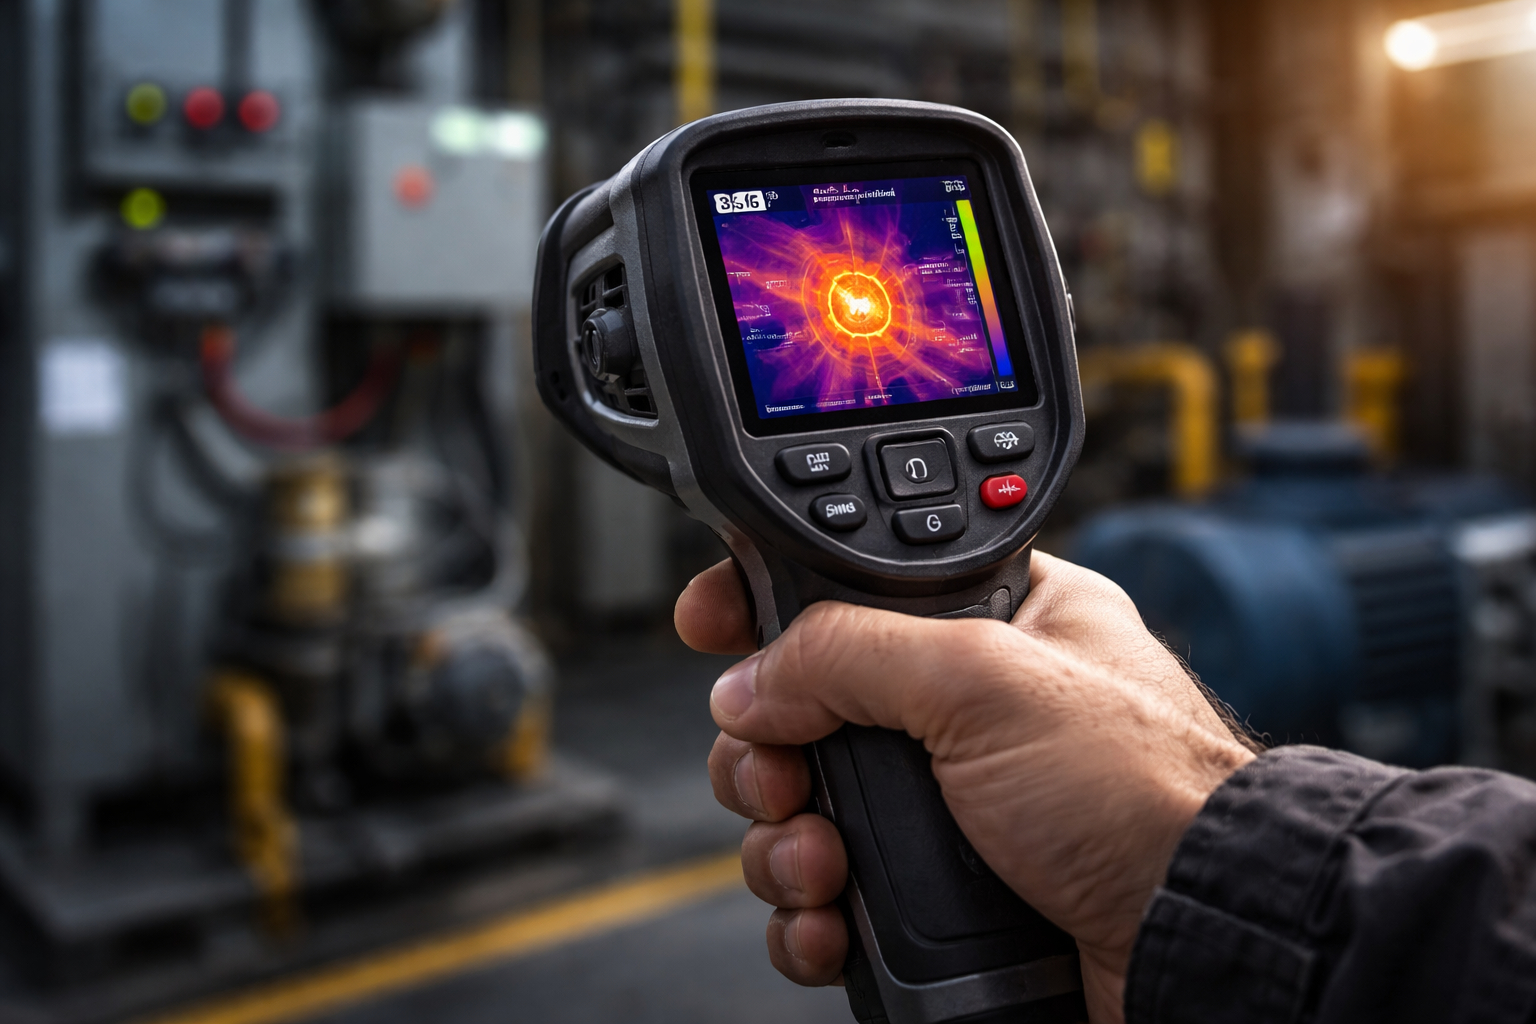
3. Using the Thermal Camera
Once your thermal camera is set up and running, you’ll be able to point it at objects and see heat differences displayed as colors on the screen. Here’s how to make the most of it:
-
Home Inspections: Thermal cameras are a great tool for detecting insulation gaps, air leaks, or moisture issues in your home. Simply point the camera at walls, windows, or doors to spot areas with significant temperature variation.
-
Electrical Troubleshooting: If you’re trying to identify overheating circuits or components, thermal cameras are perfect. They allow you to see which parts are running hot before any visible damage occurs.
-
Outdoor Exploration: Some users also enjoy using thermal cameras for spotting animals in the dark, as their heat signatures are much more detectable in thermal imaging compared to regular cameras.
4. Understanding Thermal Images
Thermal images can be overwhelming at first, but interpreting them becomes easier with practice. The key is to understand that the colors represent different temperatures:
- White/Yellow/Red: These are typically the hottest areas.
- Purple/Blue/Black: These colors indicate cooler areas.
When inspecting for heat loss, for instance, the cooler areas in your thermal image will show you where cold air is coming in or where insulation may be lacking. Similarly, in electrical inspections, areas that are unusually warm may indicate an issue that needs attention.
5. Tips for Getting the Best Results
- Avoid Reflective Surfaces: Thermal cameras can be tricked by reflective surfaces like mirrors or shiny metal, as these can reflect the heat from surrounding areas.
- Give it Time to Adjust: When moving between different environments (e.g., from a cold outdoor area to a warm indoors), give the camera time to adjust to the new conditions.
- Keep the Lens Clean: Since thermal cameras are sensitive to heat differences, a smudge or fingerprint on the lens can distort the readings.
Final Thoughts
Using a thermal camera with your Android phone can open up a world of possibilities, whether you’re a DIY enthusiast, a professional home inspector, or just curious about the thermal world around you. With devices like the FLIR ONE and Seek Thermal, setup is straightforward, and you’ll be capturing useful thermal images in no time.
Have you tried using a thermal camera with your Android? What are your experiences or recommendations? Let me know in the comments!